- About the author
- Questions and Issues
- Edit and Contribute
- Introduction
- 1. System Preferences
- 2. Xcode
- 3. Homebrew
- 4. iTerm2
- 5. Git
- 6. Vim
- 7. Sublime Text
- 8. Python
- 9. MySql
- 10. CPlusPlus
- 11. Java
- 12. Scala
- 13. Ruby
- 14. Node.js
- 15. Go
- 16. Heroku
- 17. Vagrant
- 18. Docker
- 19. LaTeX
- 20. Apps
- 21. Security
- 22. References
- Generated using GitBook
iTerm2
Since we're going to be spending a lot of time in the command-line, let's install a better terminal than the default one. Download and install iTerm2.
In Finder, drag and drop the iTerm Application file into the Applications folder.
You can now launch iTerm, through the Launchpad for instance.
Let's just quickly change some preferences.
Colors and Font Settings
- Set hotkey to open and close the terminal to
command + option + i - Go to profiles -> Default -> Terminal -> Check silence bell
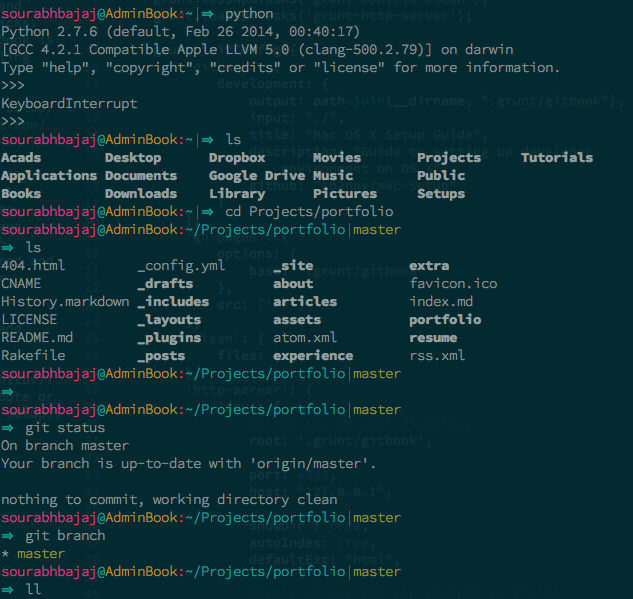
- Download one of iTerm2 color schemes from here. And then set these to your default profile colors.
- Change the cursor text and cursor color to yellow make it more visible
- Change the font to 14pt Source Code Pro Lite. Source Code Pro can be downloaded from here.
- If you're using BASH instead of ZSH you could add
export CLICOLOR=1line to your~/.bash_profilefile for nice coloring of listings.
